
C-Bus Connectivity Kit
Time Programs
The driver provides support for the time program maintenance. You can manage
- Daily schedules
- Weekly schedule (assigning daily schedules to weekdays)
- Yearly schedule (defining individual periods with special daily schedules)
To edit the time programs, you can use one of two methods provided by the driver:
- The first method is older, it is part of the driver from the very beginning. The method synchronizes scheduling information between C-Bus controllers and Niagara driver components. For the data editing this method uses PxViews on the components. These views work only in the Niagara Workbench, including Web Start instances.
- A newer method available since driver version 5.2 uses for the data editing HTML5 time program widget. These widget communicates directly with C-Bus controllers and does not synchronize any data. HTML5 widget can be used on Px / Hx pages and work even in the browser.
For new projects, we recommend using the newer method. In any case, you should not mix both methods and use only one of them.
The method of using data synchronization between C-Bus controllers and driver components is described below. For
information on the method using online communication with C-Bus controllers refer to the chapter Time Program Widget.
Synchronization configuration
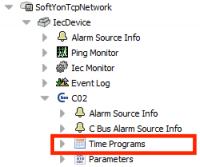
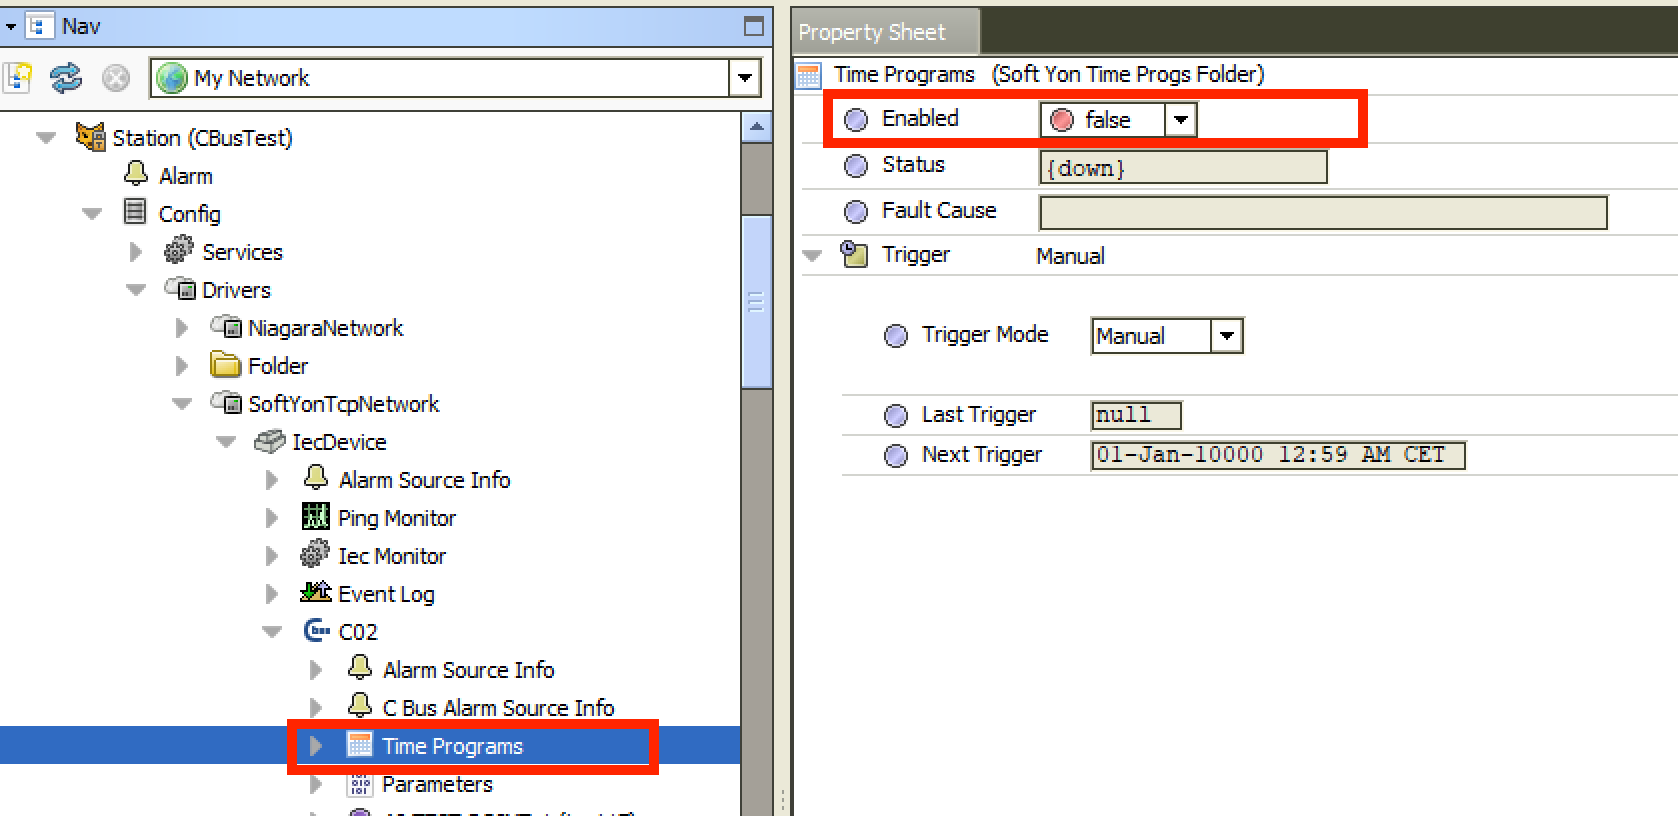
Time Programs are initially disabled in the driver. To enable the synchronization, navigate to the component Time Programs located under the C-Bus controller component and change the property Enabled to TRUE.
In the next step, you have to configure the data synchronisation between the XL5000 controller and the driver. The synchronisation strategy depends on whether on the C-Bus is another site for the time program editing (Honeywell station, MMI panel). If the SoftYon driver is responsible for the time programs editing, it is not necessary to synchronise more often than one time per day. Otherwise, it is advisable to synchronise frequently, but not more often than once in 15 minutes.
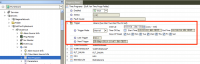
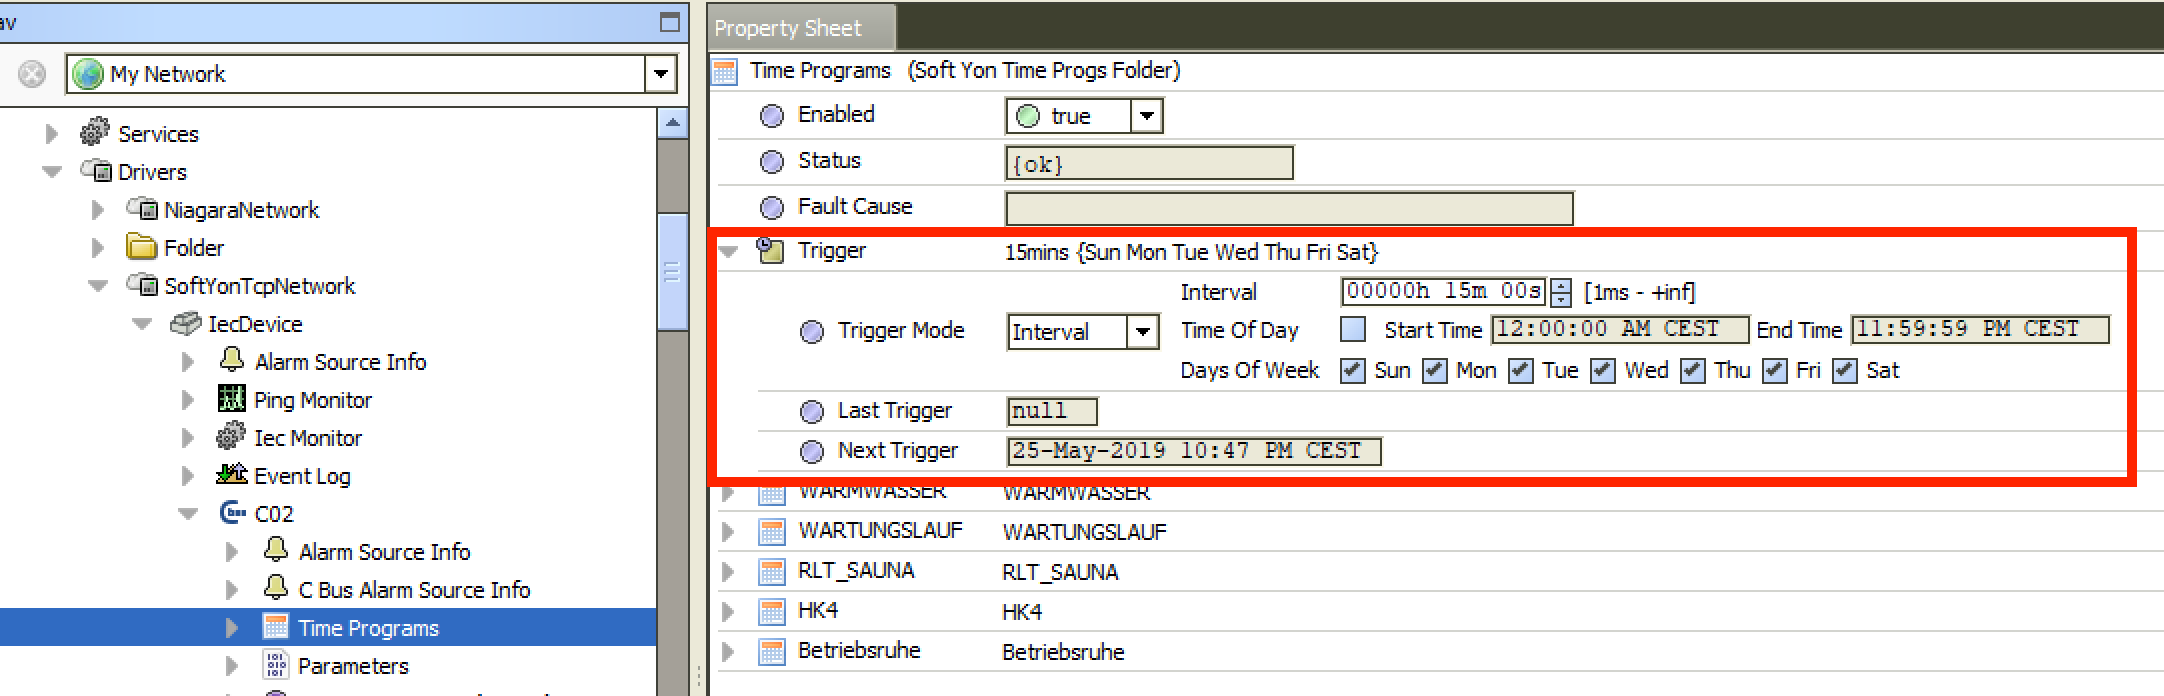
To define the synchronization frequency, use the Trigger found in the Time Programs Property Sheet. When synchronizing for the first time, the SoftYon driver copies the time programs definitions and stores them in the local station database. The next time the trigger fires, it checks whether the time programs in the controller have changed and performs copying only when needed. You can use the trigger action Fire trigger to perform this check on demand.
In addition to the trigger, there is an action Synchronize on the Time Programs component. This action always copies all Time Program definitions again. Use the Synchronize action only in exceptional cases if you feel that the description of Time Programs does not match reality. Though, do not activate it too often. The time synchronisation process may take a few minutes, and it does not make any sense to start it again and again.
Time Program Views
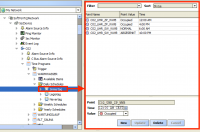
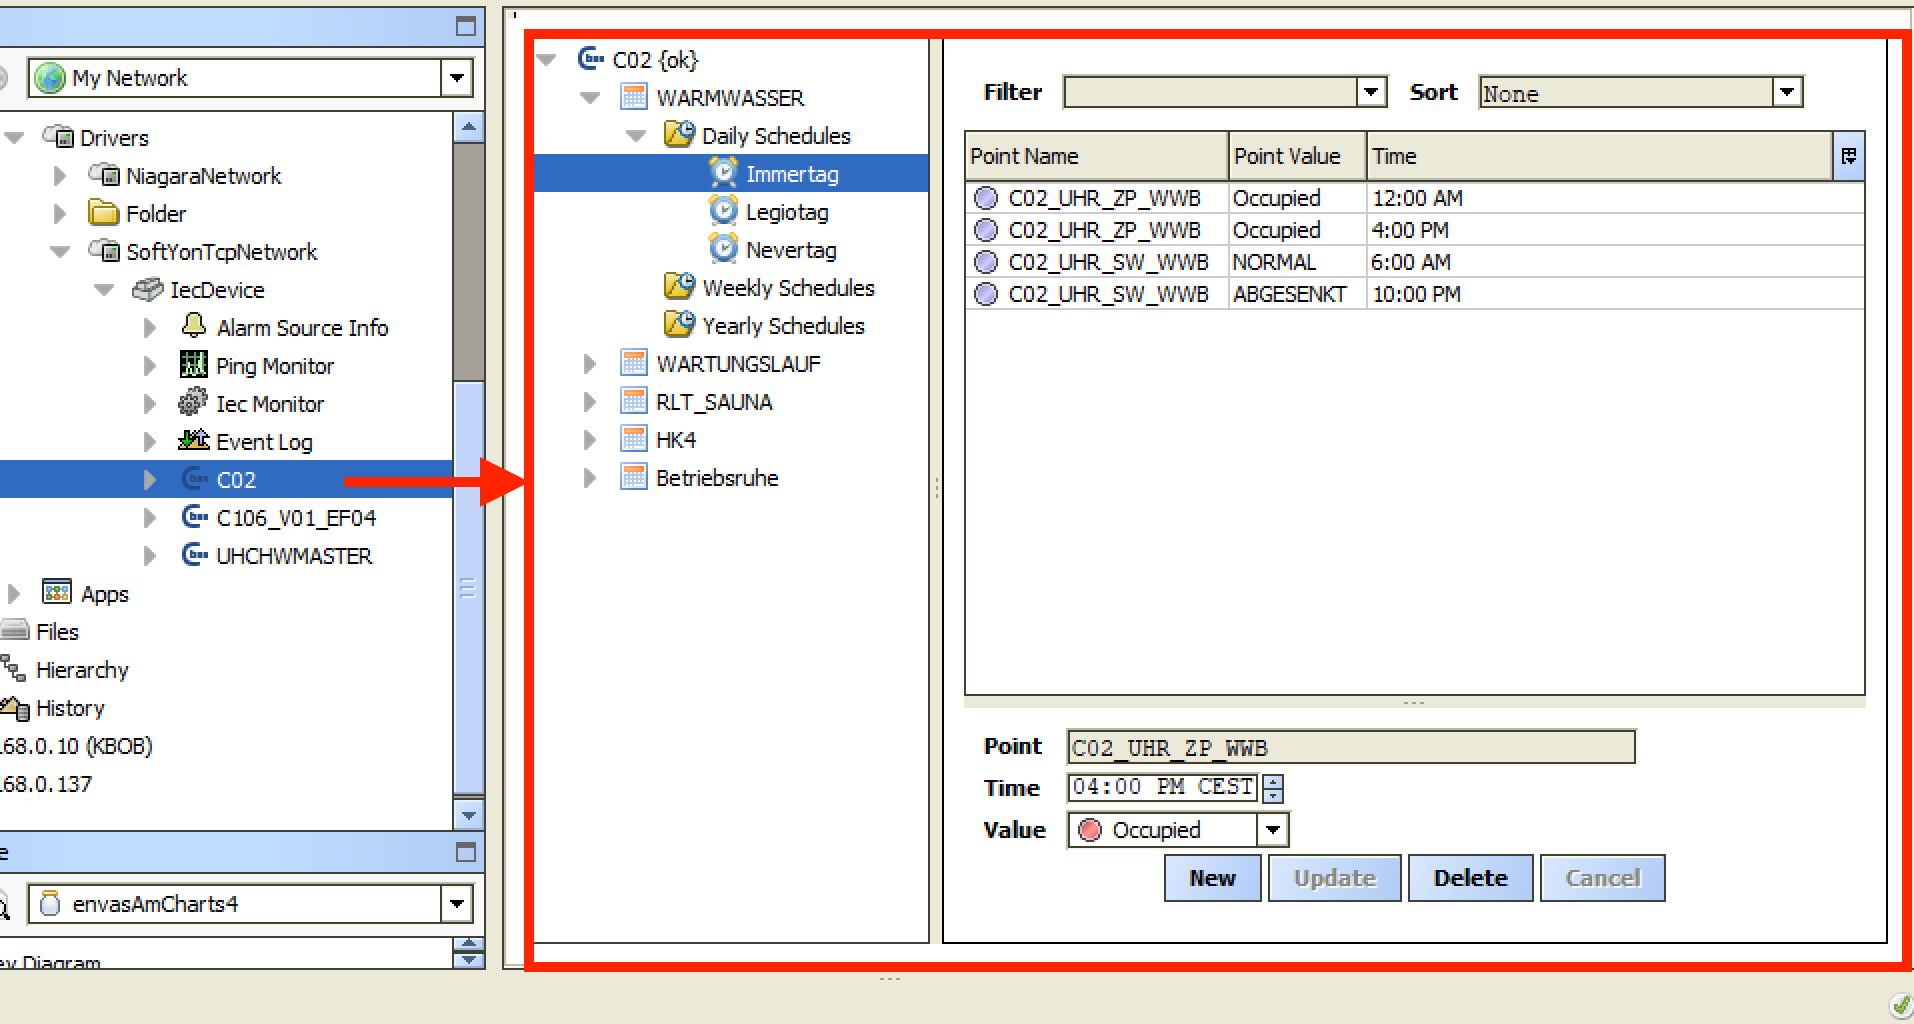
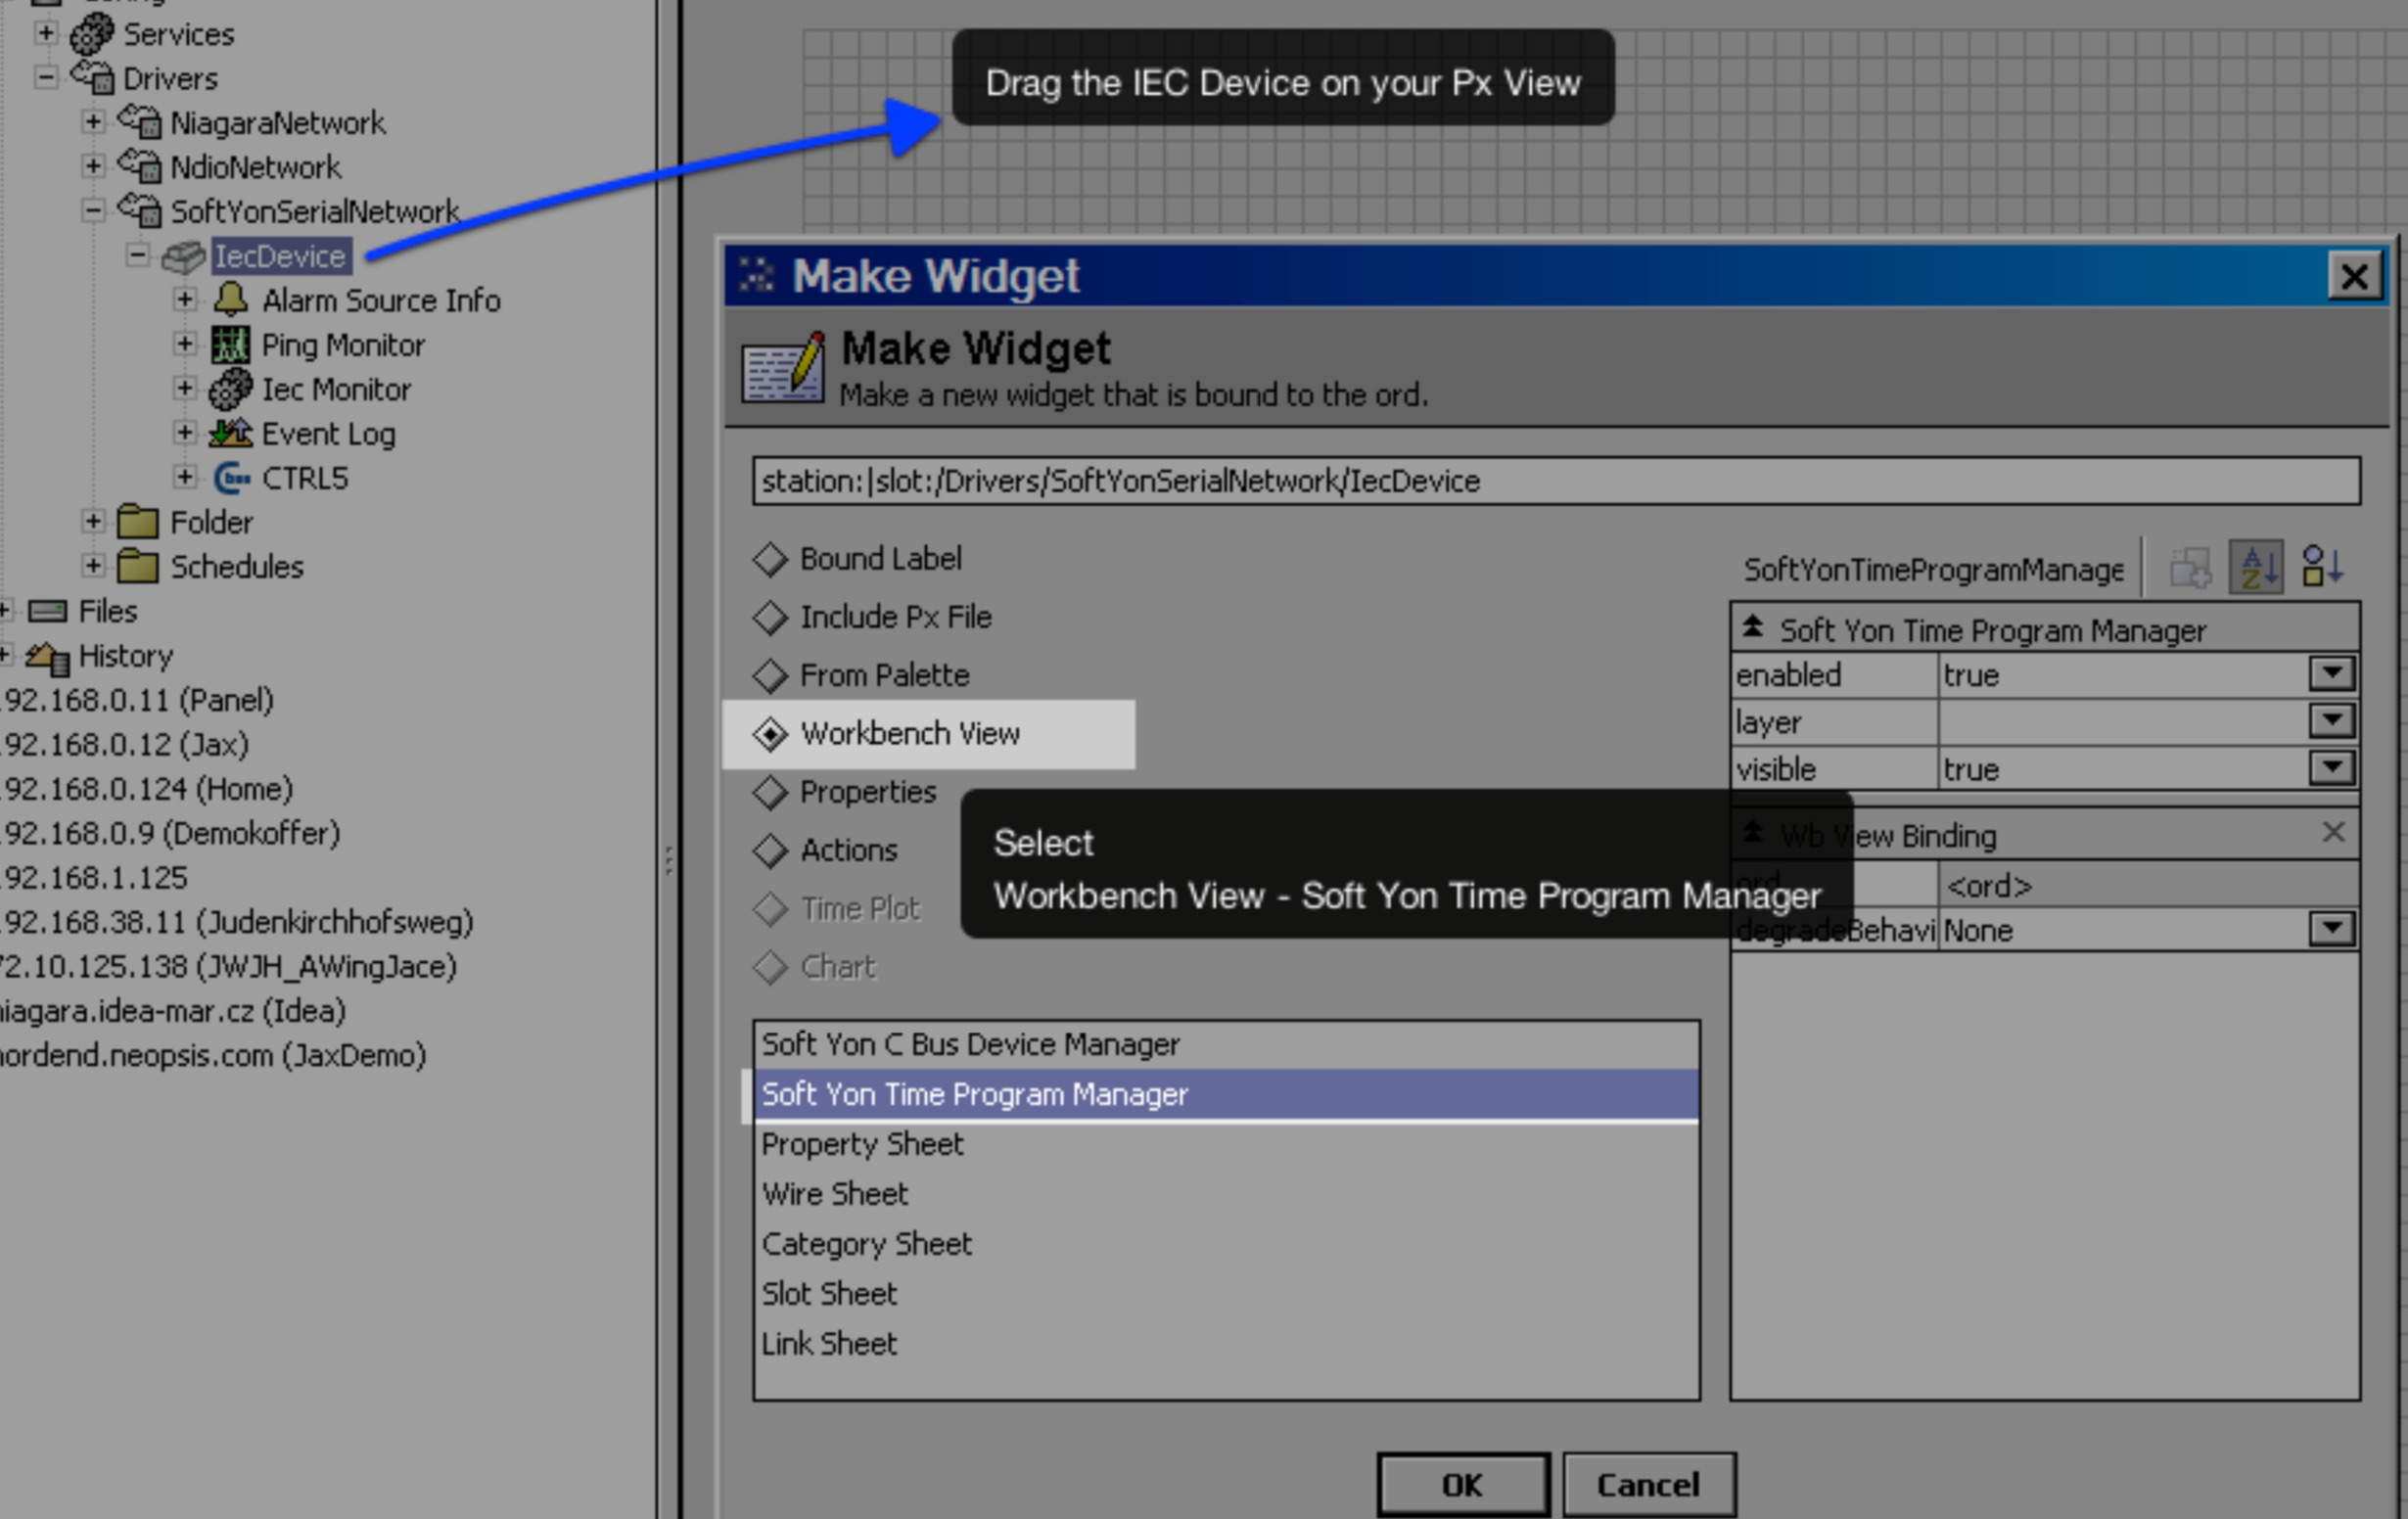
The SoftYon driver offers a specialised set of Px Time Program Views for schedules editing. These views are defined as default views on the respective schedule components (daily, weekly and yearly plans). Data are modified locally, and changes are synchronised with the appropriate C-Bus controller in the background task. You can use the Time Program views on a Px graphics, which means drag&drop the component on the Px canvas and in the upcoming dialogue, select the Workbench View as the presentation widget.
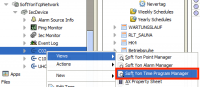
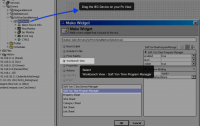
To edit the time programs in one view, use the Time Program Manager. Time Program Manager is the management view on the C-Bus controller component (editing of Time Programs in one C-Bus controller only) or on the IEC Device component (editing Time Programs in all C-Bus controllers).
Place the Time Program Manager view on the Px graphics page like any other Niagara view - drag & drop C-Bus Controller or IECDevice component on the Px canvas and select Workbench View as the widget in the following dialogue.